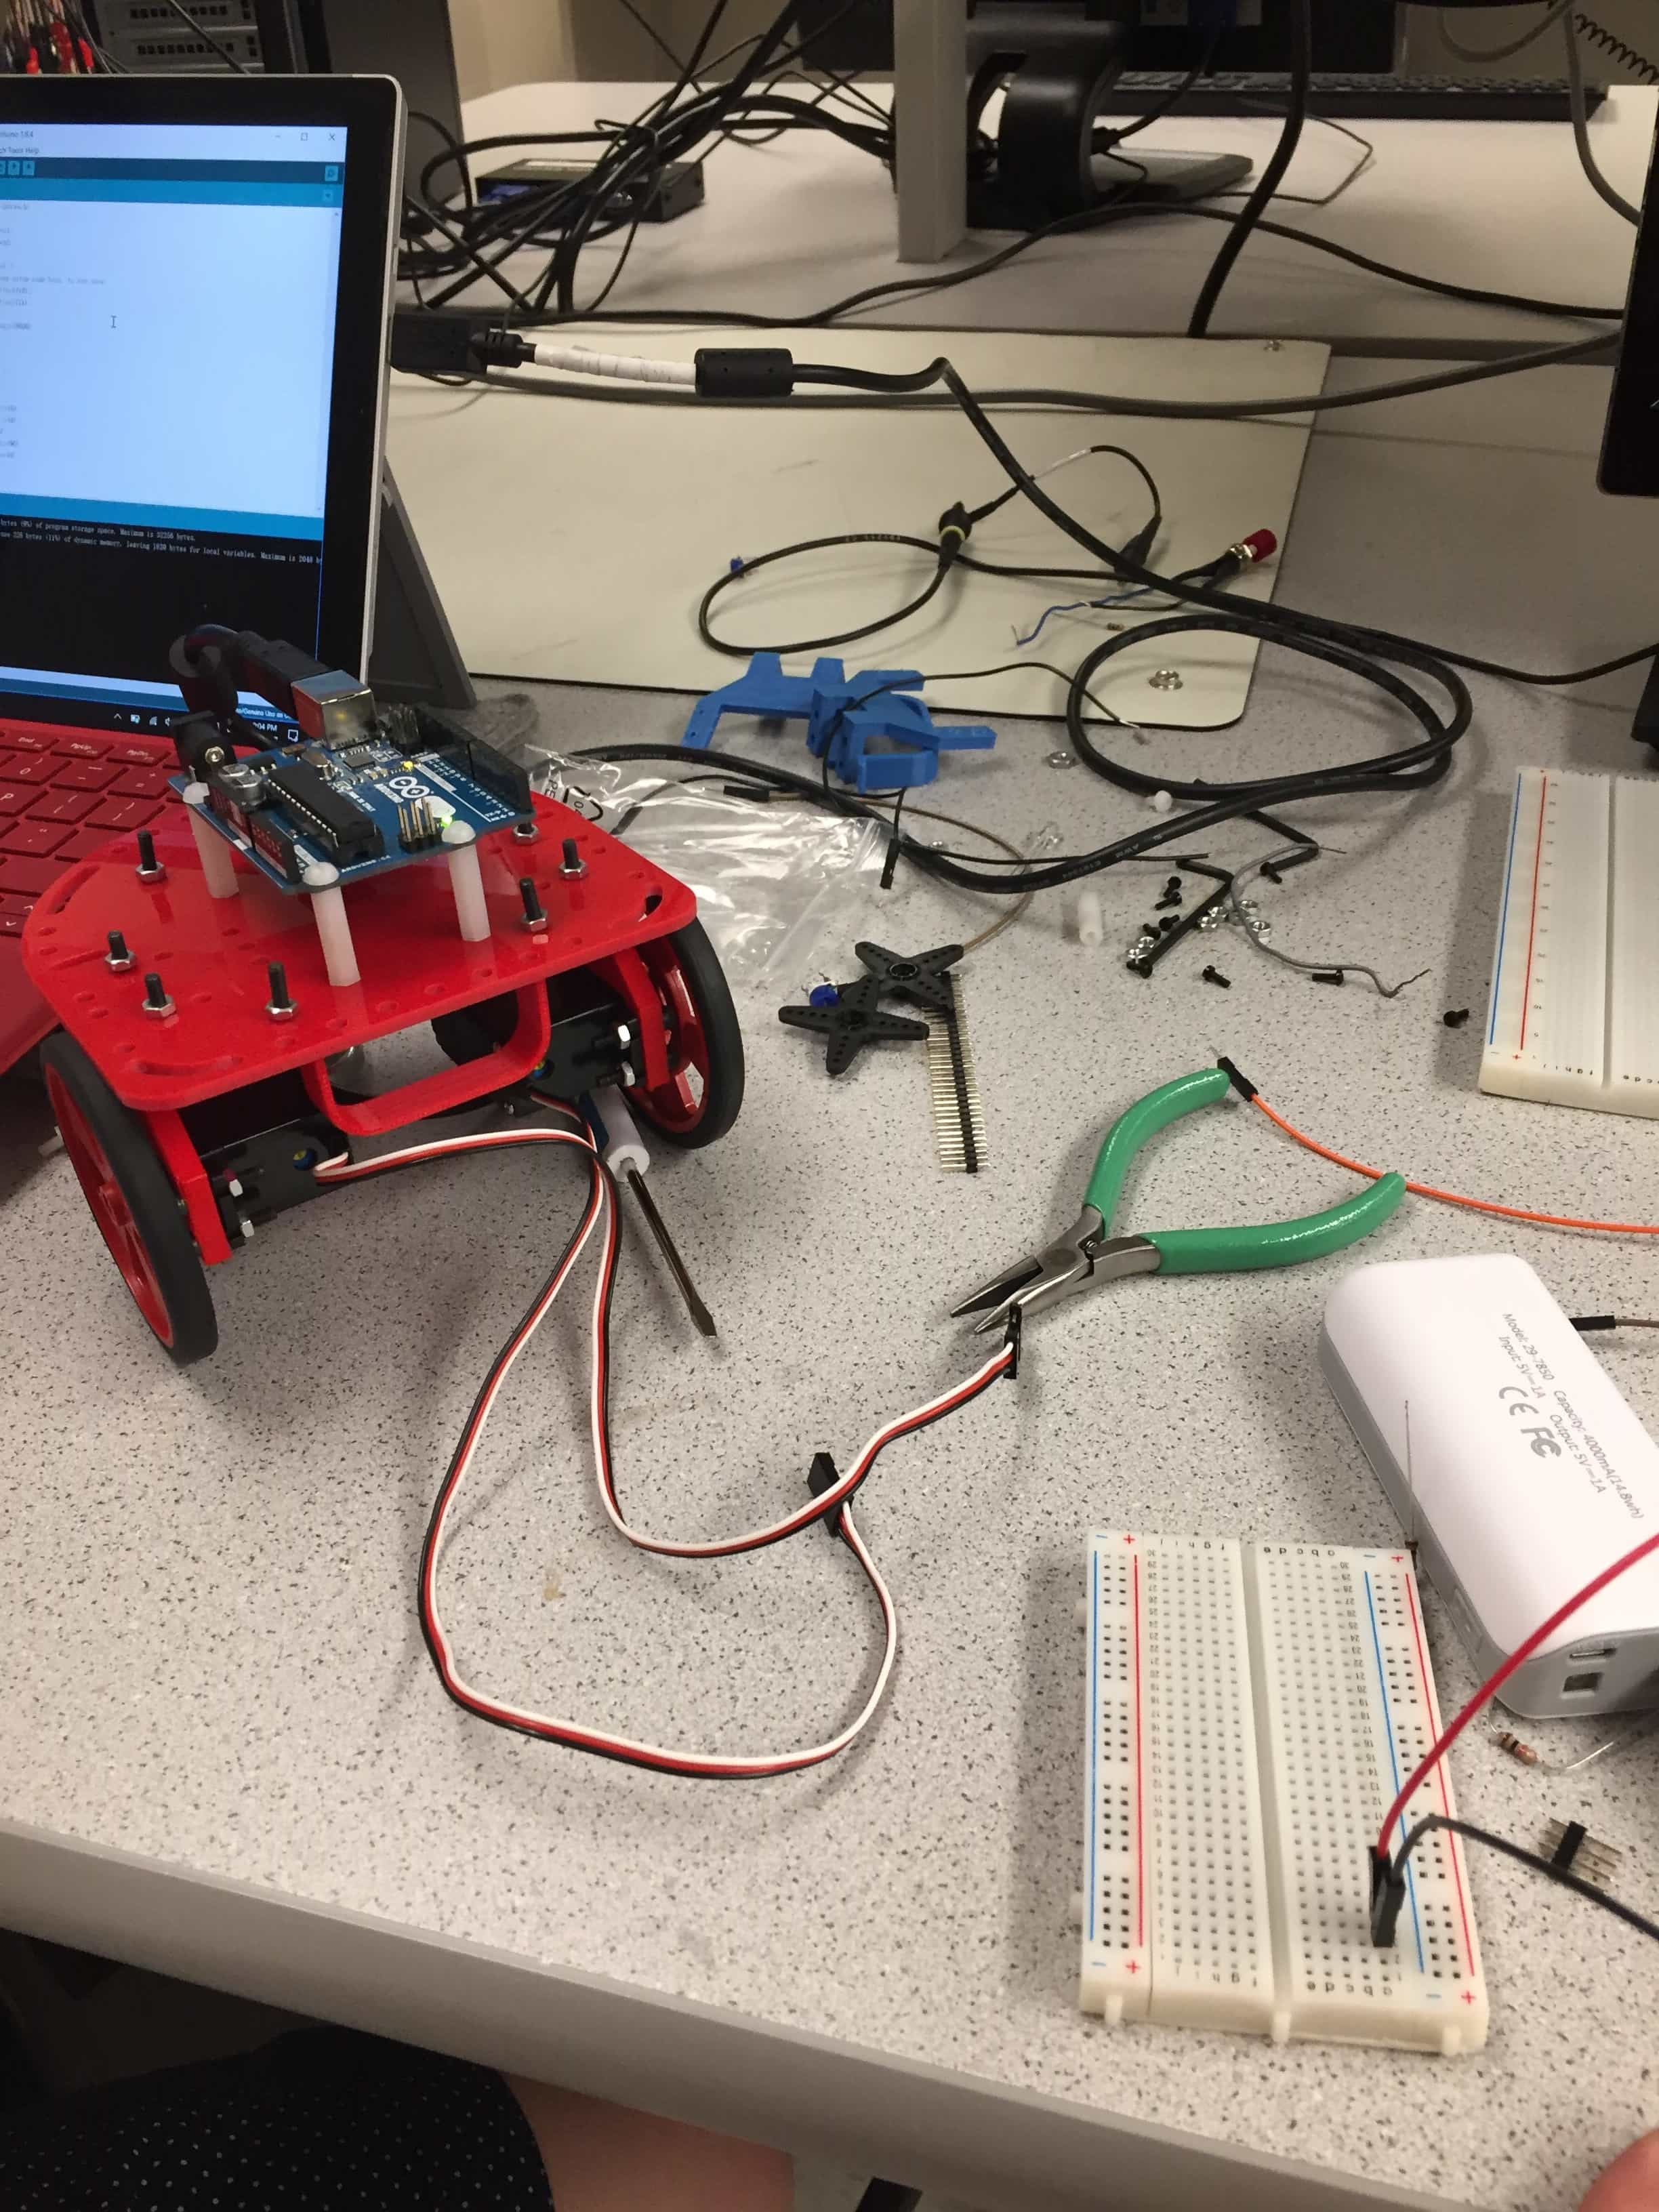
Learn basic functionalities of the Arduino Uno and the Arduino IDE, and assembly a basic robot to perform a simple autonomous task.
Installed Arduino IDE
Download Link
We first tested the example code “Blink”
The example can be found under: File > Examples > 1.Basics > Blink
void setup() {
  // initialize digital pin LED_BUILTIN as an output.
  pinMode(LED_BUILTIN, OUTPUT);
}
// the loop function runs over and over again forever
void loop() {
  digitalWrite(LED_BUILTIN, HIGH);   // turn the LED on (HIGH is the voltage level)
  delay(1000);                       // wait for a second
  digitalWrite(LED_BUILTIN, LOW);    // turn the LED off by making the voltage LOW
  delay(1000);                       // wait for a second
}
void setup() {
  // initialize digital pin LED_BUILTIN as an output.
  pinMode(5, OUTPUT);
}
// the loop function runs over and over again forever
void loop() {
  digitalWrite(5, HIGH);   // turn the LED on (HIGH is the voltage level)
  delay(1000);                       // wait for a second
  digitalWrite(5, LOW);    // turn the LED off by making the voltage LOW
  delay(1000);                       // wait for a second
}
 Serial.begin(9600);    //Sets the data rate in bits per second (baud) for serial data transmission.
 value = analogRead(PIN_IN); //reading the value from the potentiometer
 Serial.println(value); //Prints value to the serial port as human-readable ASCII text.
  value = analogRead(PININ);//Reads an ADC conversion from pin A0 using default settings for the ADC.
  Serial.println(value);//print value to screen
  delay(100);//wait .1 sec
  analogWrite(PINOUT,value>>2);//write value out to the LED
 #include <Servo.h>  //import Library
Servo servo1;      //Declare instance of servo
servo1.attach(10); //Attach the servo input to pin 10 (PWM)
servo1.write(0);   //ouputting 0 = max speed reverse, 90 = stop, 180 = max speed forward

 void loop() {
  servo1.write(0); //servo1 go forward
  servo2.write(180); //servo2 go forward
  delay(1000); //Go forard for 1 second
  servo1.write(90); //servo1 stop
  delay(500); //Turn for .5 second
 }